Members
Roles, permissions and per-member settings for people on a schedule.
Each schedule has one or more members who can be assigned to shifts. You can also add members who are never assigned, to let them view or manage the schedule.
Members are managed on a template’s Members tab: Schedules → schedule → Configuration tab → template → Members tab. The member list is shared by every template on the schedule, so a change made on one template applies to all of them. Each template keeps its own Target and Shift distribution settings.
When you create a new schedule, you add its first members in the setup’s Members step.
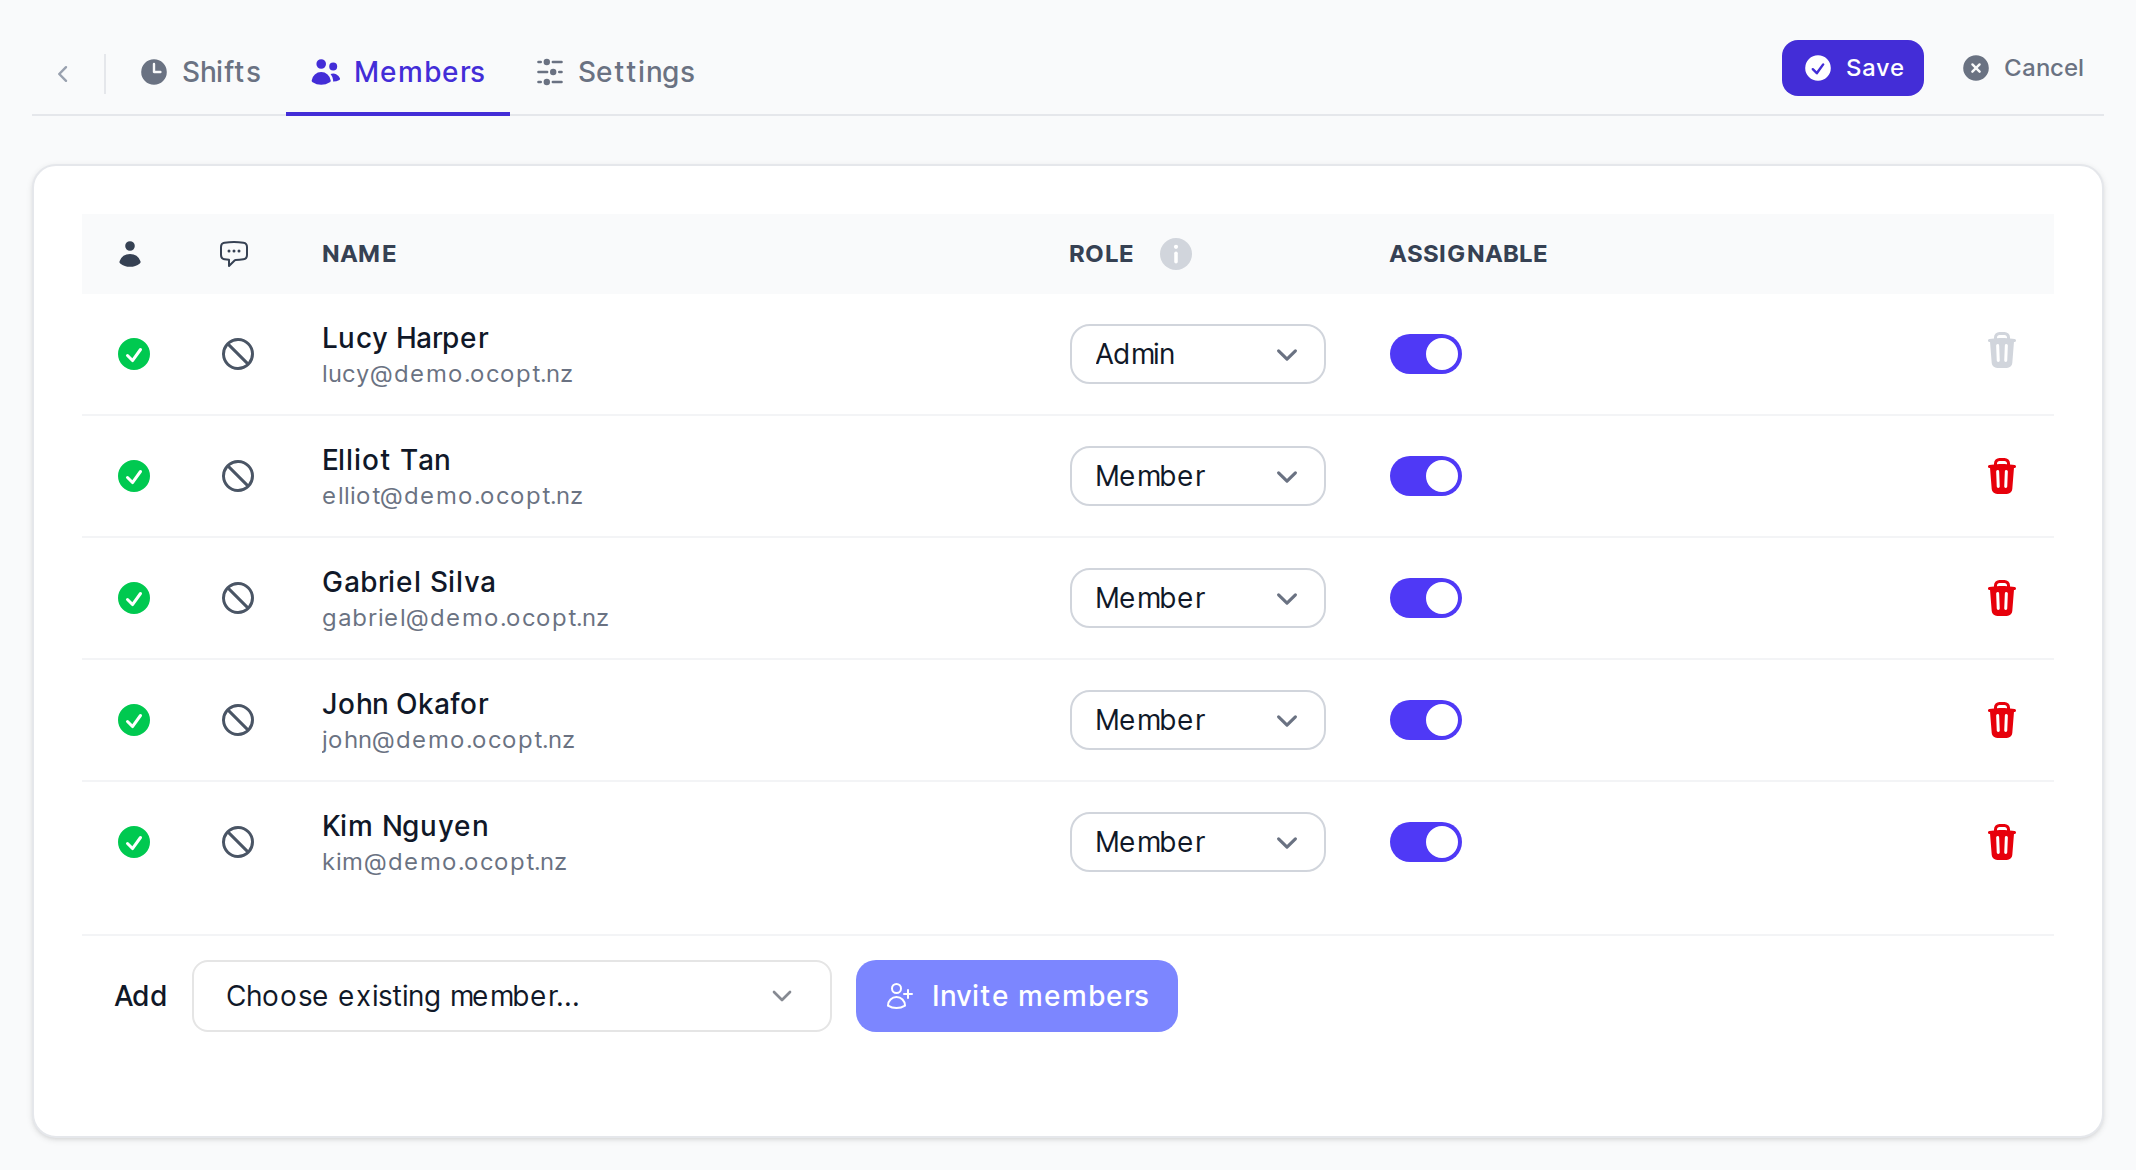
Adding and removing members
Adding members
- Open the template’s Members tab and click Edit.
- In the Add row under the table, click Choose existing member… and pick a member of your organization. Type to search. If no one matches, click Add as basic member to add the name or email you typed as a basic member without an account.
- Set the new member’s Role and whether they are Assignable.
- Click Save.
To bring in people who don’t use On-Call Optimizer yet, click Invite members to invite them to your organization and the schedule in one step. You need permission to invite people to your organization. If the schedule has members who haven’t been invited yet, the button reads Send invitations and shows a warning; the Configuration and Members tabs also show a warning dot. Save or cancel your changes before inviting.
Removing a member
- Open the template’s Members tab and click Edit.
- Click the trash icon at the end of the member’s row.
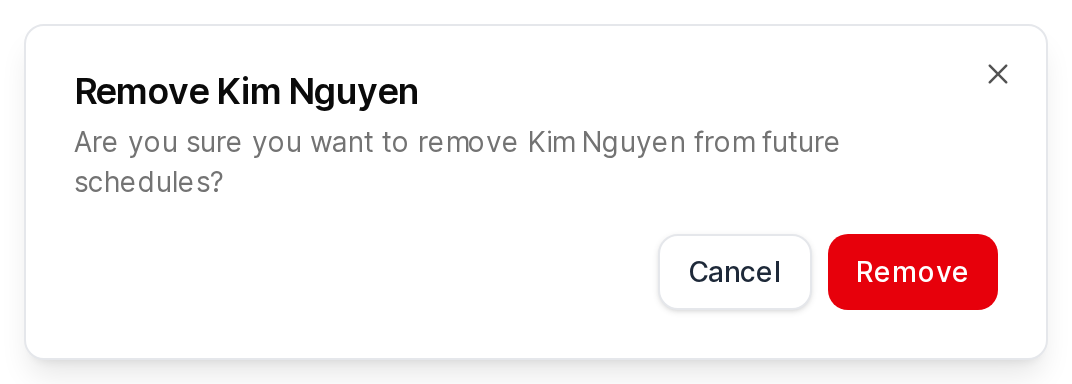
- In the Remove name dialog, click Remove. The member is removed straight away.
The last member with the Admin role can’t be removed. Their trash icon is greyed out; click it to see why.
Removing a member leaves them out of future assignments. It doesn’t remove them from shifts that are already assigned, including assigned shifts that are still in the future.
Member list
The table on the Members tab has these columns:
- Member status (user icon in the header): whether the member has an account and shares availability. Point at the icon to see a description.
- Slack status: shown only when your organization uses Slack.
- Name: the member’s name or email address.
- Role: Admin, Member or Viewer. See Roles.
- Assignable, or Target where member targets are enabled for your schedule. See Assignable.
- Shift distribution: only shown where shift distribution is enabled for your schedule. See Per-template options.
- The trash icon to remove the member (in edit mode).
Member status icons (point at an icon for its description):
A member you have just added but not saved yet shows a user-plus icon.
Slack status icons: a check circle when the member has connected their Slack account, a no-entry sign when they haven’t, and a dash when there is no information (for example, a basic member).
Properties
Assignable
Assignable controls whether the member is included when future shifts are assigned. It can be set for any member, whatever their role.
- New members are assignable by default. To change it, use the toggle in the Assignable column while editing the Members tab.
A common use is to let someone view or manage a schedule without taking shifts themselves.
Where member targets are enabled for your schedule, the Target column replaces Assignable. It sets the member’s share of shifts as a percentage. A target of 0% means the member isn’t assigned shifts. See Balance.
Per-template options
Target and Shift distribution belong to the template, not the member list, so each template can set them differently.
Shift distribution lets a member choose Spread, Cluster (with an optional limit such as “up to 48h in any 168h period”) or Schedule default. It can only be changed when allow member overrides is turned on in the template’s Settings. See Per-member preferences.
Roles
Choose a member’s role in the Role column while editing the Members tab. Only schedule admins can make someone an admin.
People who can’t edit the schedule can still open its pages, but buttons that change it are disabled, with a tooltip explaining why.
Schedule admin
Schedule admins have full access to the schedule and can do everything members can. The person who creates the schedule becomes its first admin and can add more members. We recommend at least two admins per schedule.
Only schedule admins and organization admins can delete a schedule.
Schedule member
Member is the default role for new members. Members can change the schedule’s configuration and assignments, but can’t remove or delete the schedule.
Schedule viewer
Viewers take full part in the schedule: they can be assigned shifts and take part in swaps. They can’t change the schedule’s configuration, and can’t create or change assignments except through swaps.